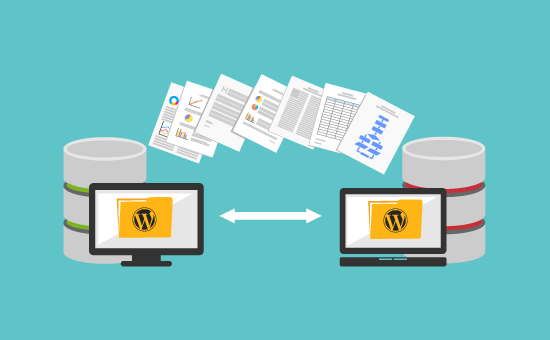
Migrating your website to a new hosting provider can improve performance, reduce costs, or offer better support. The process requires careful planning to ensure minimal downtime and data integrity. This guide provides a step-by-step approach to migrating your website smoothly.

1. Plan Your Migration
Before starting the migration process, it’s essential to plan and prepare.
- Assess Your Needs: Determine why you’re migrating and what features or improvements you need from the new host.
- Choose a New Hosting Provider: Select a provider that meets your requirements for performance, security, and support.
2. Backup Your Website
Creating a backup ensures you have a copy of your website in case anything goes wrong during migration.
- Full Backup: Use your current host’s backup tools or plugins to create a complete backup of your website, including files and databases.
- Manual Backup: Download all website files via FTP or your hosting control panel. Export your database using tools like phpMyAdmin.
3. Prepare the New Hosting Environment
Set up the new hosting environment to ensure a smooth transition.
- Domain Settings: Configure your domain settings with the new hosting provider. Ensure your domain is ready for pointing to the new server.
- Upload Files: Upload your website files to the new host using FTP or the file manager provided by the new host.
- Import Database: Import your database into the new host’s database management system, like phpMyAdmin.
4. Update Configuration Files
Adjust configuration files to reflect the new hosting environment.
- Database Configuration: Update database connection details in configuration files, such as
wp-config.phpfor WordPress sites, to match the new host’s settings. - File Paths: Check and update file paths if necessary, ensuring they match the new server’s structure.
5. Test Your Website
Before making the final switch, test your website on the new host.
- Temporary URL: Use a temporary URL or staging environment provided by your new host to test your site.
- Check Functionality: Verify that all website features, links, and forms work correctly.
- Verify Performance: Ensure that loading times and overall performance are satisfactory.
6. Update DNS Settings
Once you’ve confirmed that the new site is functioning correctly, update your DNS settings to point to the new hosting provider.
- Update Nameservers: Log in to your domain registrar and update the nameservers to those provided by your new host.
- DNS Propagation: Be aware that DNS changes can take up to 48 hours to propagate fully across the internet.
7. Monitor Your Website
After the migration, monitor your website to ensure everything runs smoothly.
- Check for Errors: Monitor for any errors or issues that may arise post-migration.
- Performance Monitoring: Use performance monitoring tools to ensure the site runs efficiently on the new host.
- Backup Verification: Ensure that backups are working correctly on the new host.
8. Notify Stakeholders
Inform your users and stakeholders about the migration, especially if there might be temporary downtime.
- Communication: Send notifications via email or social media if the migration may impact user experience.
- Support: Be prepared to address any issues or questions from users during and after the migration process.
9. Cancel Old Hosting Service
Once you’ve confirmed that the migration is successful and everything is running smoothly, cancel your old hosting service.
- Verify Cancellation: Ensure that all services associated with the old host are terminated.
- Request Refund: If applicable, request a refund for any unused portion of your hosting plan.
10. Document the Process
Keep a record of the migration process for future reference.
- Document Steps: Write down the steps taken and any issues encountered during the migration.
- Update Records: Update any documentation related to your hosting environment and configurations.
Conclusion
Migrating your website to a new hosting provider requires careful planning and execution. By backing up your site, preparing the new environment, updating configurations, and testing thoroughly, you can ensure a smooth transition with minimal downtime. Monitoring your website post-migration and informing stakeholders will help maintain a positive user experience throughout the process.


