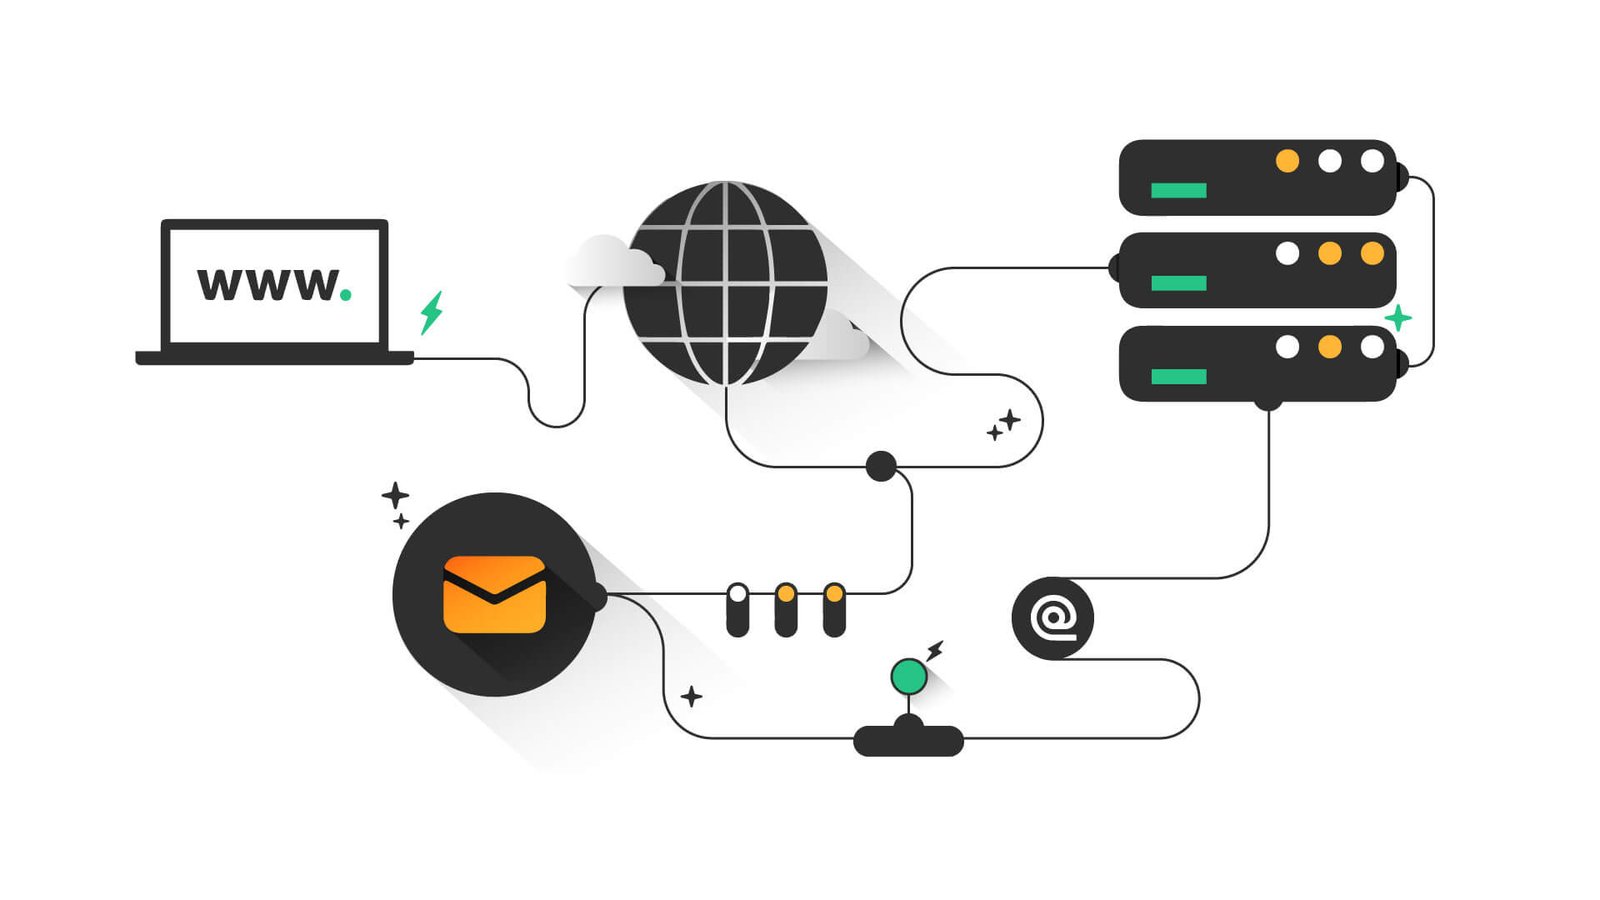
Migrating your website to a new host can be a daunting task, but it’s often necessary to improve performance, security, or cost-effectiveness. Whether you’re upgrading to a more robust hosting plan or switching to a provider that better meets your needs, careful planning and execution are key to a successful migration. This guide will walk you through the essential steps to ensure a smooth transition.
Preparation for Migration
1. Choose Your New Host
- Research Providers: Evaluate potential hosting providers based on factors like uptime, customer support, and pricing. Read reviews and compare features to select the best option for your needs.
- Plan Your Move: Check the new host’s migration policies and tools. Some hosts offer free migration services or tools that can simplify the process.
2. Backup Your Website
- Full Backup: Before making any changes, create a complete backup of your website. This includes your files, databases, and any configurations.
- Use Backup Tools: Utilize backup plugins or your hosting control panel to generate a backup. Ensure the backup files are stored securely.
3. Prepare Your New Host
- Set Up Your Account: Sign up for your new hosting plan and configure your hosting environment. This typically involves setting up domain names, email accounts, and other services.
- Check Requirements: Verify the new host’s requirements for file formats, database types, and software versions to ensure compatibility with your website.

Executing the Migration
1. Transfer Website Files
- Download Files: Access your current hosting account using FTP/SFTP or your hosting control panel to download all website files to your local computer.
- Upload Files: Use FTP/SFTP or the new host’s file manager to upload your website files to the new server.
2. Migrate Databases
- Export Databases: Use your current host’s database management tool (e.g., phpMyAdmin) to export your website’s databases. Save the exported files securely.
- Import Databases: Access the new host’s database management tool to create a new database and import the exported data.
3. Update DNS Settings
- Change DNS Records: Update your domain’s DNS settings to point to your new host. This typically involves modifying the nameservers or A records in your domain registrar’s control panel.
- Propagation Time: DNS changes can take up to 48 hours to propagate globally, during which time some users may still be directed to your old host.
Post-Migration Tasks
1. Test Your Website
- Verify Functionality: Check all aspects of your website, including pages, forms, and links, to ensure everything is working correctly on the new host.
- Check Performance: Monitor the website’s performance and load times to ensure the new host meets your expectations.
2. Update Your SSL Certificates
- Reinstall SSL Certificates: If you’re using SSL certificates, reinstall them on the new host. Ensure that HTTPS is functioning correctly to maintain secure connections.
- Test Security: Verify that all security features, such as firewalls and security plugins, are working properly.
3. Monitor for Issues
- Track Performance: Keep an eye on your website’s performance and uptime in the days following the migration. Address any issues promptly.
- Monitor Analytics: Check your website analytics for any unusual drops in traffic or performance issues that may have arisen from the migration.
Troubleshooting Common Issues
1. Broken Links and Missing Content
- Check File Paths: Ensure that all file paths and URLs are correct. Update any broken links or missing content that may have occurred during the transfer.
2. Database Connection Errors
- Verify Credentials: Double-check the database connection settings, including database name, username, and password, to ensure they match the new host’s configuration.
3. Email Issues
- Configure Email Settings: If you use email services, verify that email accounts and settings are properly configured on the new host.
Conclusion
Migrating your website to a new host doesn’t have to be a stressful process. By carefully preparing, executing, and monitoring the migration, you can ensure a smooth transition with minimal disruption. Follow these steps to manage your website migration effectively and enjoy the benefits of your new hosting environment.


