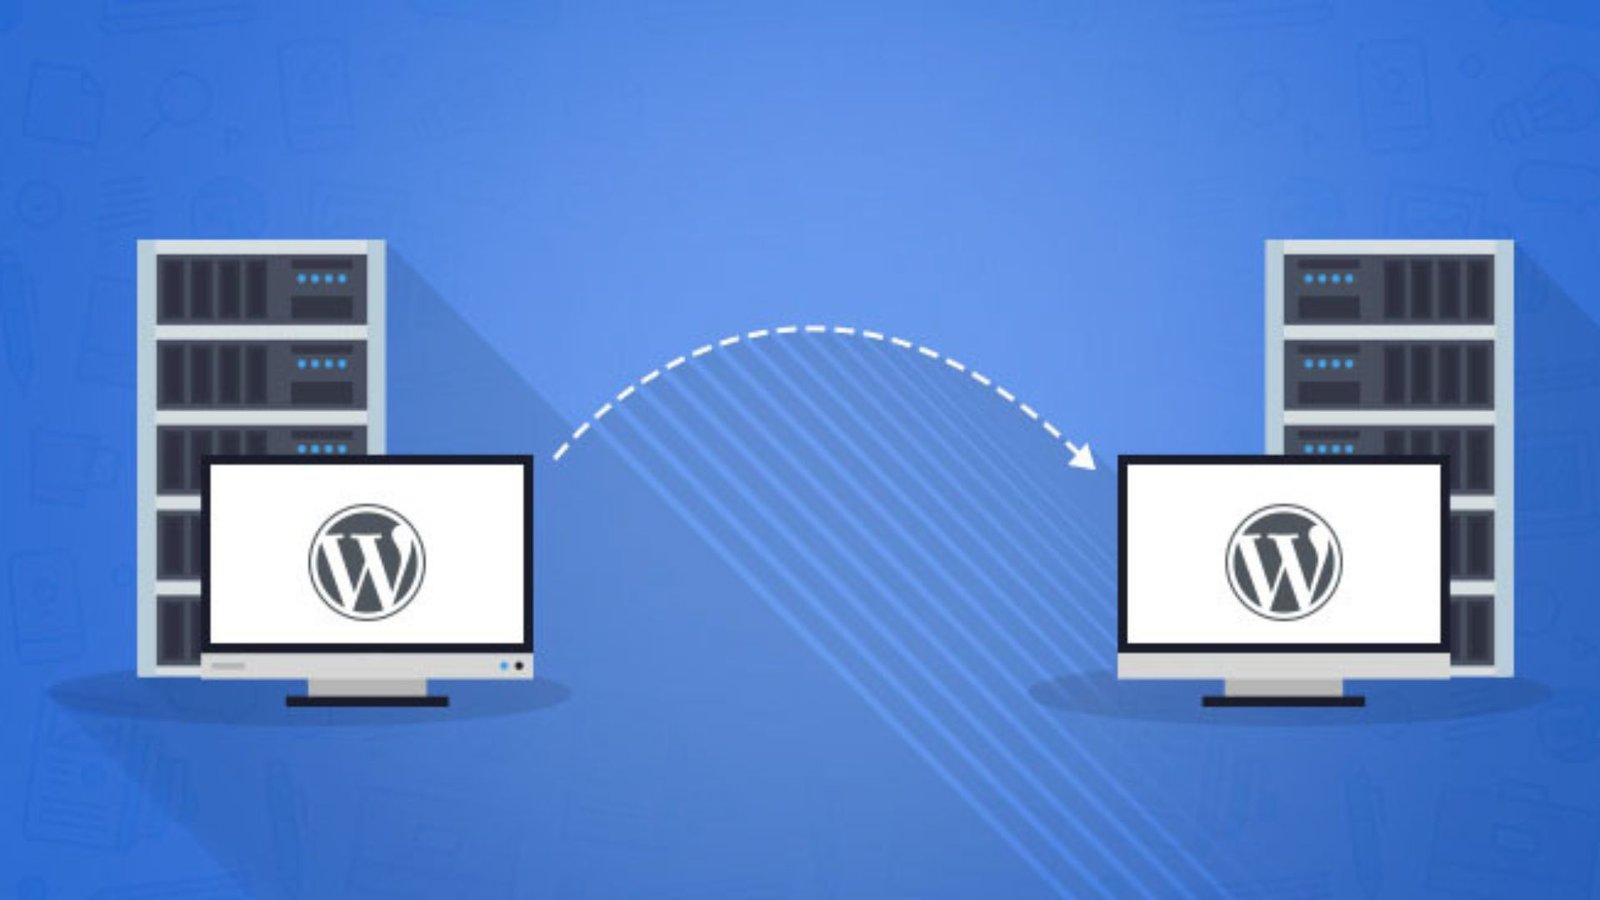
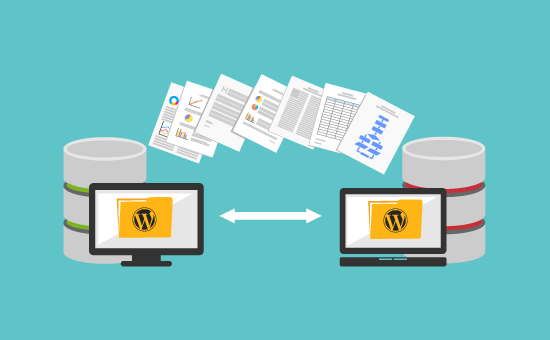
Moving your website to a new host can seem like a daunting task, but it doesn’t have to be. Understanding how to migrate your website properly will ensure a smooth transition without any major hiccups. In this article, we’ll walk you through the steps to successfully migrate your site, so you can make the switch with confidence.
1. Backup Your Website
The first step in learning how to migrate your website is to back up all your site’s data. This includes your files, databases, images, and any other important content. Most hosting providers offer backup tools, but you can also use plugins or manual methods to ensure everything is safely stored. Having a backup means you can restore your site if something goes wrong during the migration.

2. Choose a New Hosting Provider
Before you begin the actual migration, you need to select a new hosting provider. When choosing a new host, consider factors like server speed, reliability, customer support, and the specific needs of your website. Make sure the new host meets all your requirements and provides the features that your site needs to run efficiently.
3. Transfer Your Domain (If Needed)
If your domain name is registered with your current hosting provider, you might need to transfer it to the new host. This step isn’t always necessary, but it’s an important part of how to migrate your website if you want to manage everything in one place. Check with your new host for their domain transfer process and make sure it’s completed before moving forward.
4. Set Up Your New Hosting Account
Once you’ve chosen a new host, set up your hosting account. This involves creating a new account, selecting a hosting plan, and configuring your settings. When learning how to migrate your website, setting up the new hosting environment correctly is crucial to avoid issues later on. Make sure everything is ready before moving your files.
5. Upload Your Website Files to the New Host
Now that your new hosting account is ready, it’s time to upload your website files. This step in how to migrate your website involves transferring all your backed-up data to the new host. You can do this using an FTP client or through the hosting control panel. Ensure that all files, databases, and content are correctly uploaded and placed in the right directories.
6. Update Your DNS Settings
After uploading your files, you need to update your DNS (Domain Name System) settings to point to the new host. This step is crucial in how to migrate your website, as it tells the internet where to find your site. Log in to your domain registrar and change the DNS records to match your new hosting provider’s details. DNS changes can take up to 48 hours to propagate, so be patient during this time.
7. Test Your Website on the New Host
Before you finalize the migration, it’s essential to test your website on the new host. Testing ensures that everything is working as expected and that there are no issues with the migration. Check all pages, links, images, and forms to confirm that everything is functioning correctly. This is a vital part of how to migrate your website to avoid potential problems down the road.
8. Check for Missing Files or Errors
Even with the best preparation, things can sometimes go wrong during migration. That’s why it’s important to check for any missing files or errors once your site is live on the new host. This step in how to migrate your website involves reviewing your site thoroughly to ensure everything was transferred correctly. Fix any issues you find before moving forward.
9. Monitor Website Performance
Once your website is live on the new host, monitor its performance to ensure it’s running smoothly. Use tools to track site speed, uptime, and user experience. Monitoring is an ongoing process in how to migrate your website, as it helps you catch and resolve any issues quickly, maintaining your site’s performance.
10. Notify Your Audience of the Migration
If your website has a regular audience, it’s a good idea to notify them of the migration. This step in how to migrate your website involves communicating any potential downtime or changes they might notice. Transparency with your users will help maintain their trust and understanding during the transition.
11. Cancel Your Old Hosting Account
After confirming that everything is working well on the new host, it’s time to cancel your old hosting account. This step in how to migrate your website is essential to avoid paying for two hosting services. Make sure you’ve retrieved any remaining data from the old host before cancellation.
Conclusion
Understanding how to migrate your website is crucial for a smooth transition to a new host. By following these steps, you can ensure that your website remains functional, secure, and optimized during and after the migration process.


